You can send Messages within the Kareo system! These messages can be notes sent to other users in your practice, to your biller, or to yourself! Below we have several tutorials on sending messages from both the Clinical and Practice Management sides in Kareo.
Our first tutorial is a general tutorial on how to send messages.
General tutorial – the PM side:
- Log into your Kareo account.
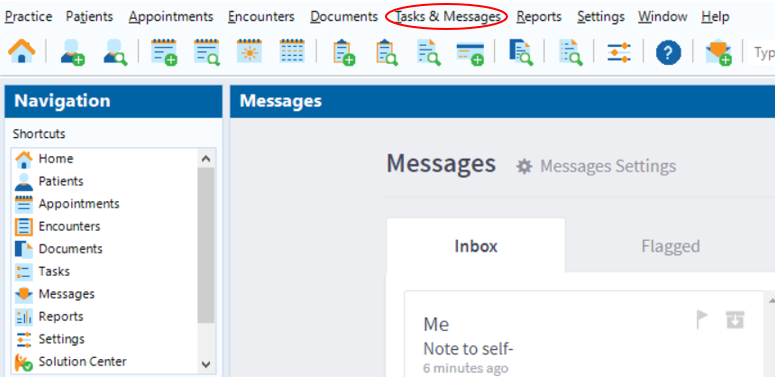
- Across the top menu, hover over the “tasks and messages” button.

- Click “View messages” in the dropdown menu. This will bring you to your Messages inbox. Here, you can view the messages that were sent to you, the ones you’ve sent, your flagged messages and your archived messages.
Tip: You can also use the shortcut navigation menu to the left and click messages. Alternately, Ctrl+Shift+N will create a new message for you, and Shift+F12 will bring you to your messages inbox.
General Tutorial – the Clinical side:
- Login to the Clinical side in Kareo.
- On the top right, you will see a Mail icon. Click it to go to your messages menu.
- Click “see all messages” to go to the inbox.
- On the left, you’ll see the different categories of messages. You can see and send messages in the Patient Portal, to and from patients, and to and from other Kareo users (e.g., your biller!)
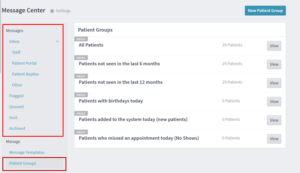
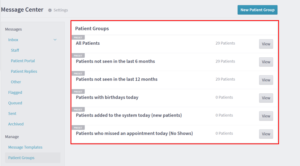
- Patient Groups: Here, you can organize messages to and from patients according to category. Category presets are pictured below. You can also create a new patient group by clicking the button on the right.
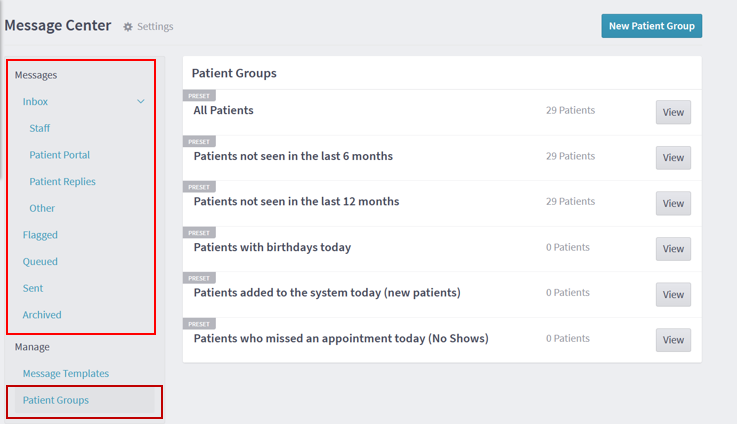

Creating Patient Groups in the Clinical side
Organizing patient groups will help streamline your messaging process. This is especially helpful if you message your patients through Kareo.
Kareo has presets for patient groups already created (pictured below); however, you can create your own groups as well.
Let’s create a group for patients who use telehealth services.
- On the top right of the messaging center, click the button called “New Patient Group”.
- Name your group. Your patients will not be able to see the other patients in the group.
- Now add patients from your records. Let’s add Jack Flash.
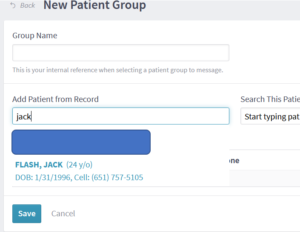
- When you’re done adding patients, save the group. Now you’ll be able to send messages to all your patients who use telehealth services at once.

Message Templates Tutorial:
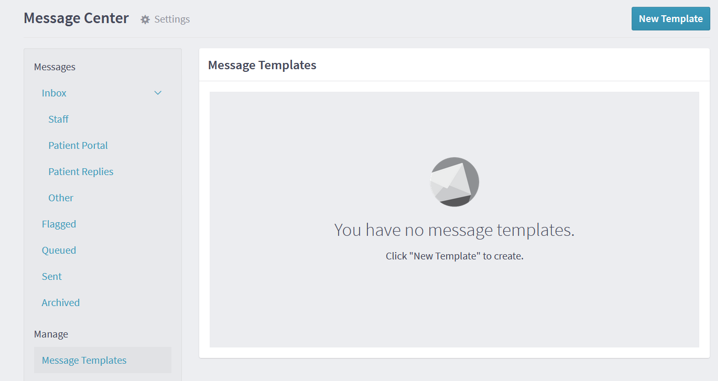
You can also create a message template (like an email template) in the Clinical side.
- Under “Manage”, click “Message Templates”. Click “New Template”.

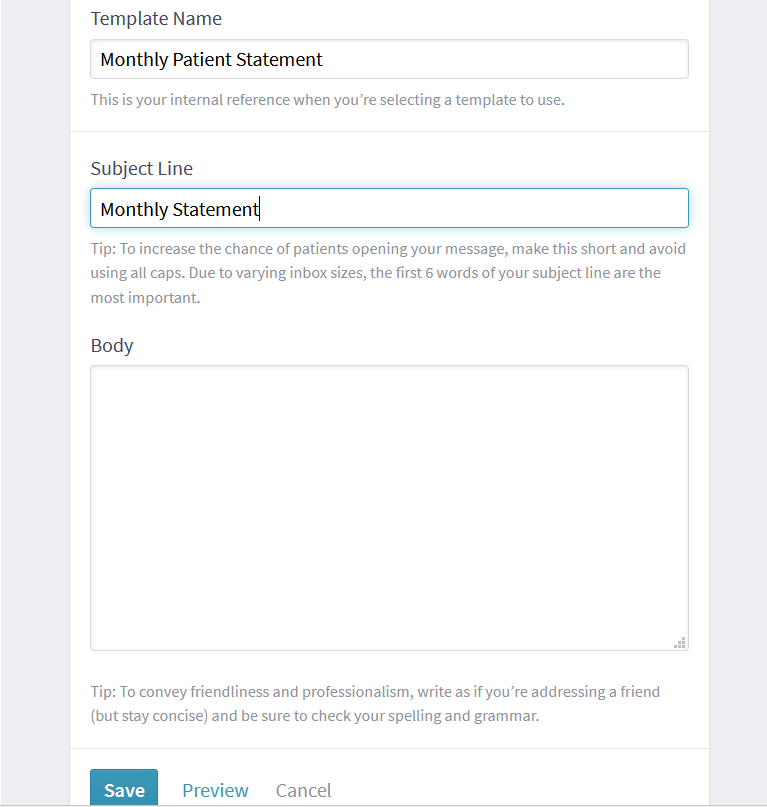
- Let’s make this message template a message regarding a patient’s statement for the month. Name the template. In this example, we’ll say “Monthly Patient Statement Template”
- Enter the subject line as you would an email.
- Type in the body of the message.
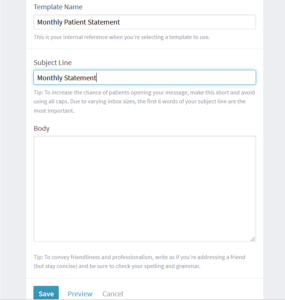
- You can preview the message by clicking “preview”.
- Hit Save to save the template. You can go back in and edit the template later if you choose.
Attaching Documents in Messages
To attach a document to a message:
- Login to the PM side of Kareo.
- Begin a new message.
- In the “Reference” field, click the “Document” link.
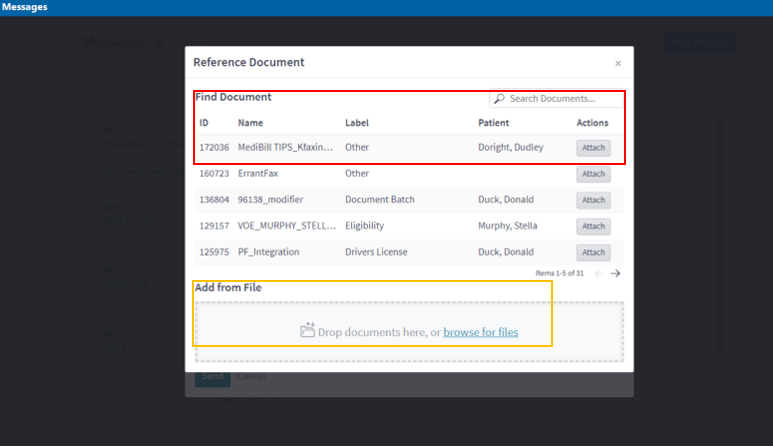
- You will be prompted to either find a document from within Kareo or upload your own file.
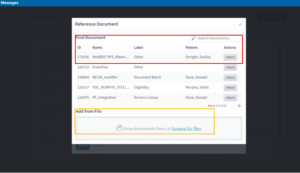 You can search for a document using a patient’s name or a document ID number. Alternately, you can upload your own file from your computer.
 - Select “Attach” from the actions menu on the right. This will attach the document to your message.
- To attach multiple documents, repeat the process.
- Finish your message and send!
Other references:
To attach a patient’s record to a message, start typing a patient’s name and click on their name. This will attach their face sheet to the message.
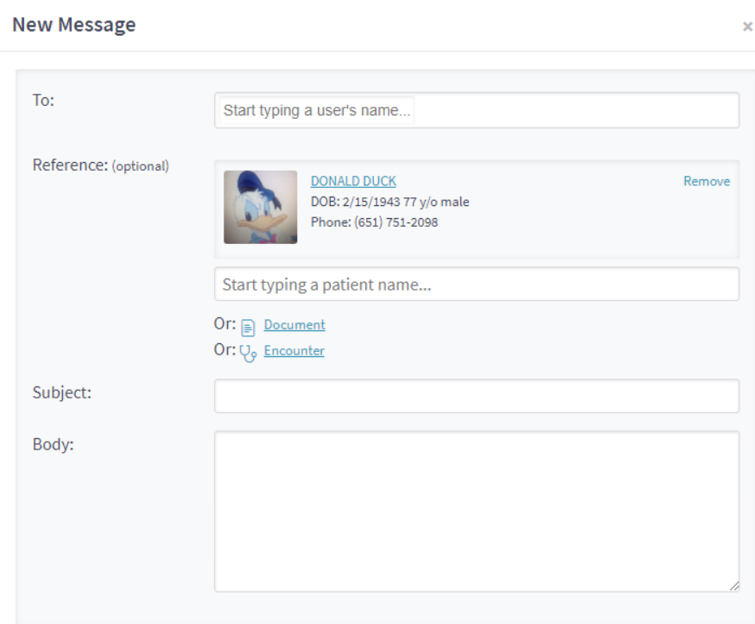
You may also attach an encounter to a message. To do this, click “encounter” under the reference field. This will attach a specific encounter to a message.
You can attach all three (documents, patients and encounters) to a message if you wish!
To archive a message, hit the archive button to the right on the message you want to archive.